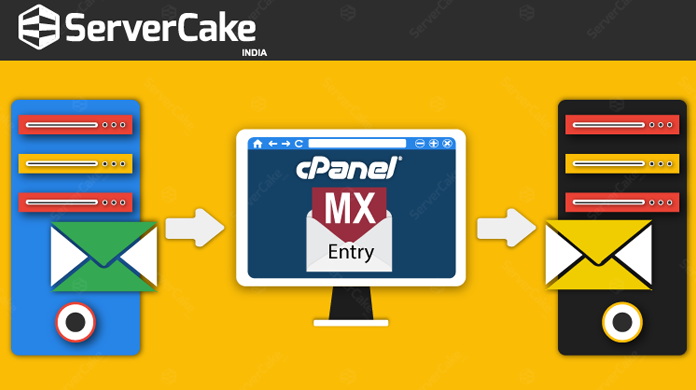
Email services for a domain can be offered locally on your cPanel account itself. The MX record is responsible for identifying which server will handle mail for a particular domain. However, if you want to use another email service, the MX record can be changed in the cPanel which control the server that receives the emails sent to your domain.
When your domain is added to a hosting plan, a default DNS zone will be automatically configured so that the mail can be handled automatically by your server. You can customize your MX entry by modifying the MX destination within cPanel so that the emails can be routed automatically to the particular email server.
To Change Your cPanel’s Email Destination
- Login to your cPanel account.
- Go to the option ‘Zone Editor’ and then select the option ‘Manage’.
- In the Add Record section, enter the information from your email provider, and then click Add New Record.
- In the Email section, click Email Routing and configure the email routing for the particular domain.
At this point, we recommend waiting up to 48 hours for the changes to your domain name’s email settings to propagate across the Internet. However, if your email isn’t currently working or you don’t mind downtime, you can proceed.
To Finalize Your Changes
- Go to the Email section.
- In the Email Routing section, select Remote Mail Exchanger, and then click Change.
- In the MX Records section, next to the Priority 0 MX record with the Destination that is your domain name, click Remove.
- Click Delete.
Once the propagation of MX records is done, the emails sent to your domain name will be delivered to the destinated email server.