
Optimize Performance of Website
Optimize Website in cPanel
Website optimization produces highly competitive web sites that on every measure; traffic, speed, and most importantly, increase your website’s performance, which ensures that your website runs quickly and smoothly.
Website optimization is important because it helps your website visitors be more successful with their visits to your website. Every visitor comes to your site hoping to answer a question, find a solution to their problem, or complete a task of one kind or another. When you optimize your website you are making it easier for your site visitors to accomplish those tasks.
For example, if you are an e-commerce website that sells a car, you can optimize your website to increase the number purchases made by people visiting your website. You can do this through conversion rate optimization.
Tweak the way Apache serves responses and enhance the performance of your website with the Optimize Website feature. This interface allows you to configure your server to automatically compress specified types of content when visitors access that content.
To optimize a website in cPanel, follow the below steps
Step 2: Go to “Software” section & Select the “Optimize Website” option.
Step 4: After updating the setting, cPanel shows the successful message.
Step 6: After updating the setting, cPanel shows the successful message.
Step 7: For disabling the Compression, select the option “Disabled” and click “Update Settings”.
Step 8: After update setting cPanel shows the successful message.
Step 1 Login to cPanel.
Step 2 Go to “Software” section & Select the “Optimize Website” option.

Optimize Website
Manage Compression
By enabling and disable the compression in cPanel.
We can enable compression in two ways.
- Compress All Contents
- Compress the specified MIME types
To manage the compression in cPanel follow the instructions below.
Step 3 To enable the Compression in cPanel, select Compress all content and select “Update Settings” button. To save the changes.

Compress All Content
Step 4 After Update setting, cPanel shows the successful message.
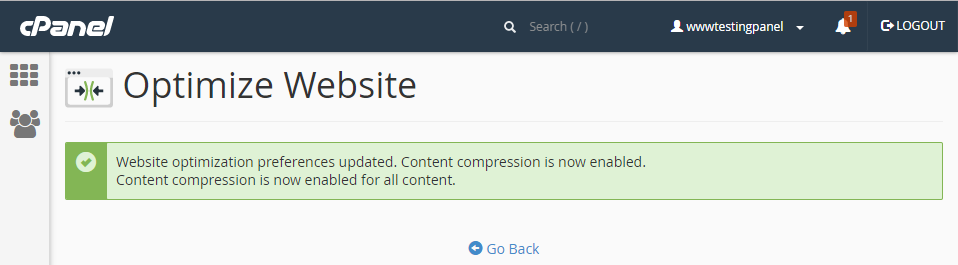
Success Message
Step 5 To specify a list of types of content to compress, select the Compress the specified MIME types option. In the MIME types text box, enter a space-separated list of the types of content that you wish to compress (for example, text/html text/plain text/xml) and select “Update Settings” button. To save the changes.
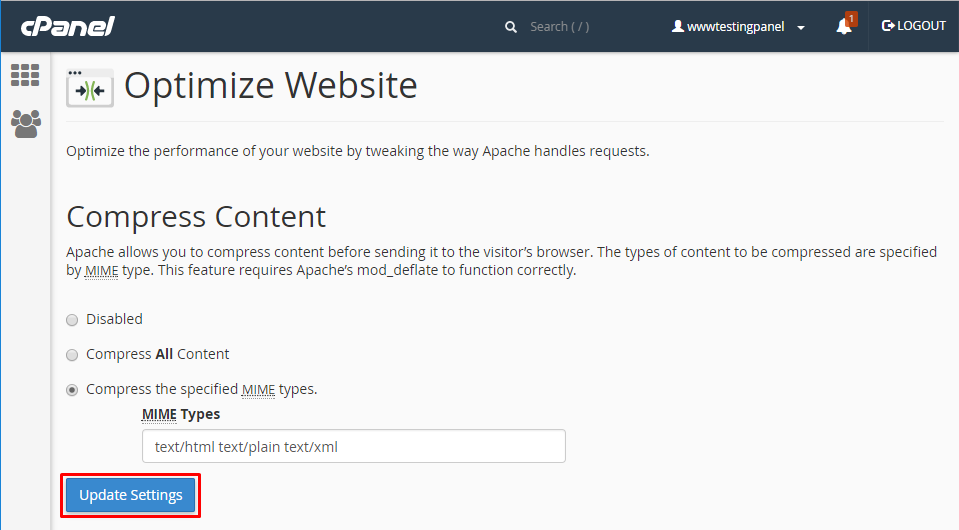
Compress Specific MIME Type
Step 6 After Update setting, cPanel shows the successful message.

Successful Message
Step 7 To disable the Compression in cPanel, select Disabled and select “Update Settings” button. To save the changes.

Disable the Compression
Step 8 After update setting cPanel shows the successful message.

Successful Message
Step 9 Done!
Video Tutorials