
WordPress:
WordPress is a free and open source content management tool based on PHP and MySQL. The first version of WordPress was created on 2003 by Matt Mullenweg and Mike Little. WordPress was created for blogs, but now its suitable for all kinds of websites. In fact, now it controls over 30 percent of all sites on the internet.
WordPress is an open source platform so anyone is free to download the software and build the website easily. Most of the hosting companies are providing a one-click WordPress installation tool, but not every hosting companies offers this feature, the clients are using manual WordPress installation. This tutorial helps the users to install WordPress manually without using any application tool.
Follow the below steps to install WordPress manually:
Step 1: Download WordPress from its official website and the user can choose the versions as your wish.
URL to download the file: https://wordpress.org/download/
Step 2: Login to your web hosting cPanel account.

Step 3: Navigate to File section and open the File manager (here you can store all the website’s data).

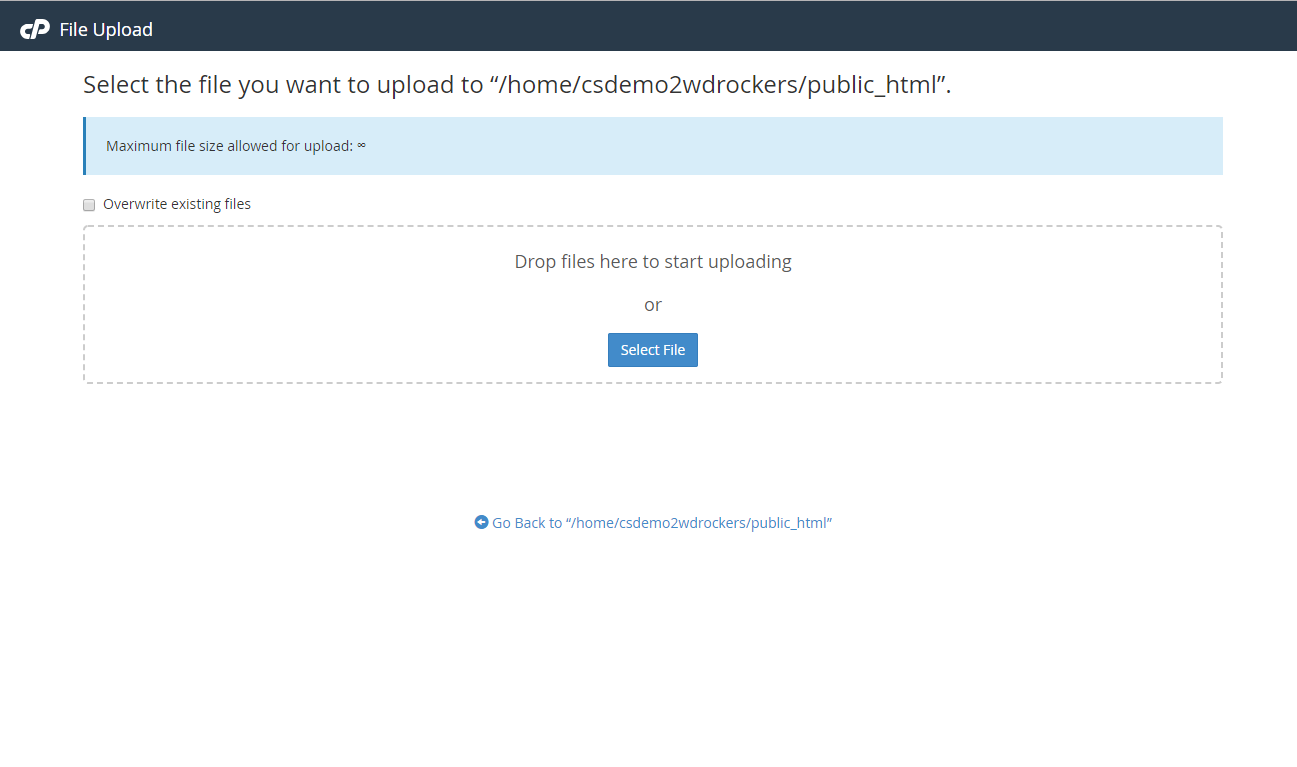
Step 4: Open your Public_html folder and click on the Upload option from the cPanel menu bar.

Step 5: A new tab will appear in the browser and you can choose the WordPress installation file from your local computer. Once the WordPress file upload process gets completed go back to the public_html directory.
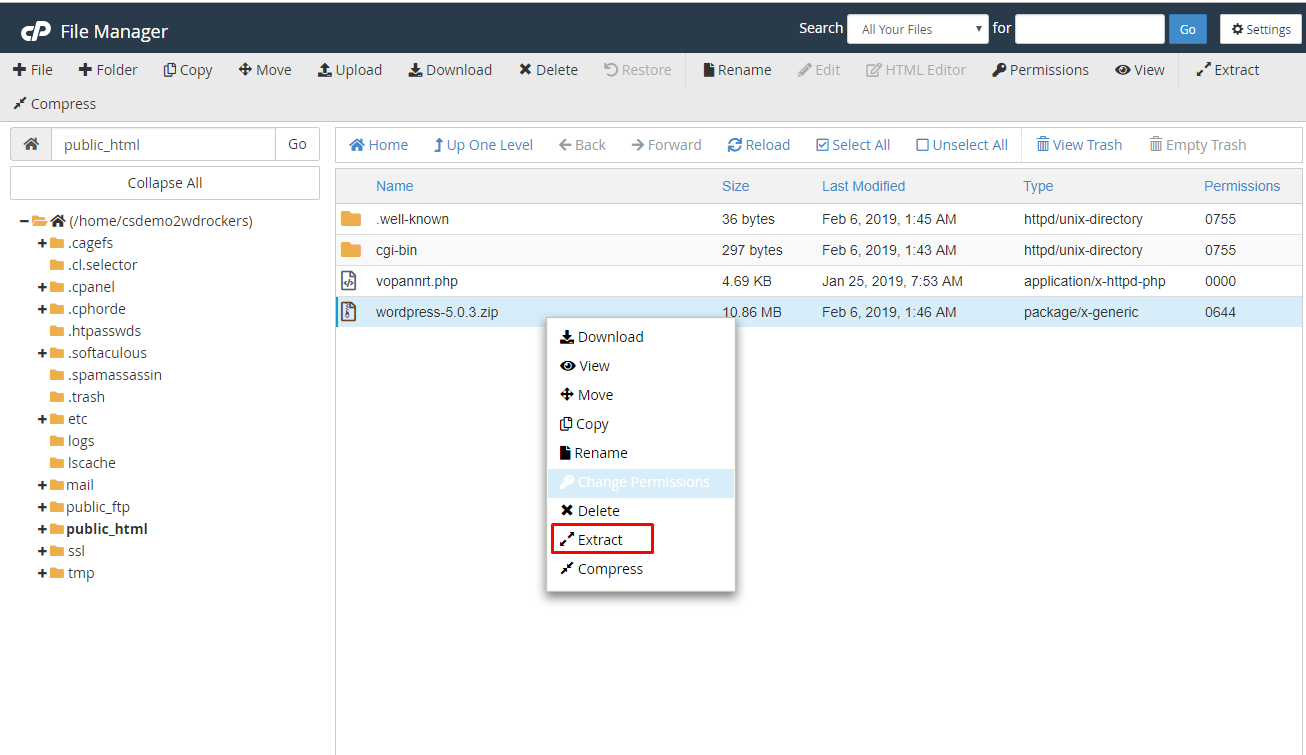
Step 6: Now you can see a Zip file, Right-click on it and choose Extract.
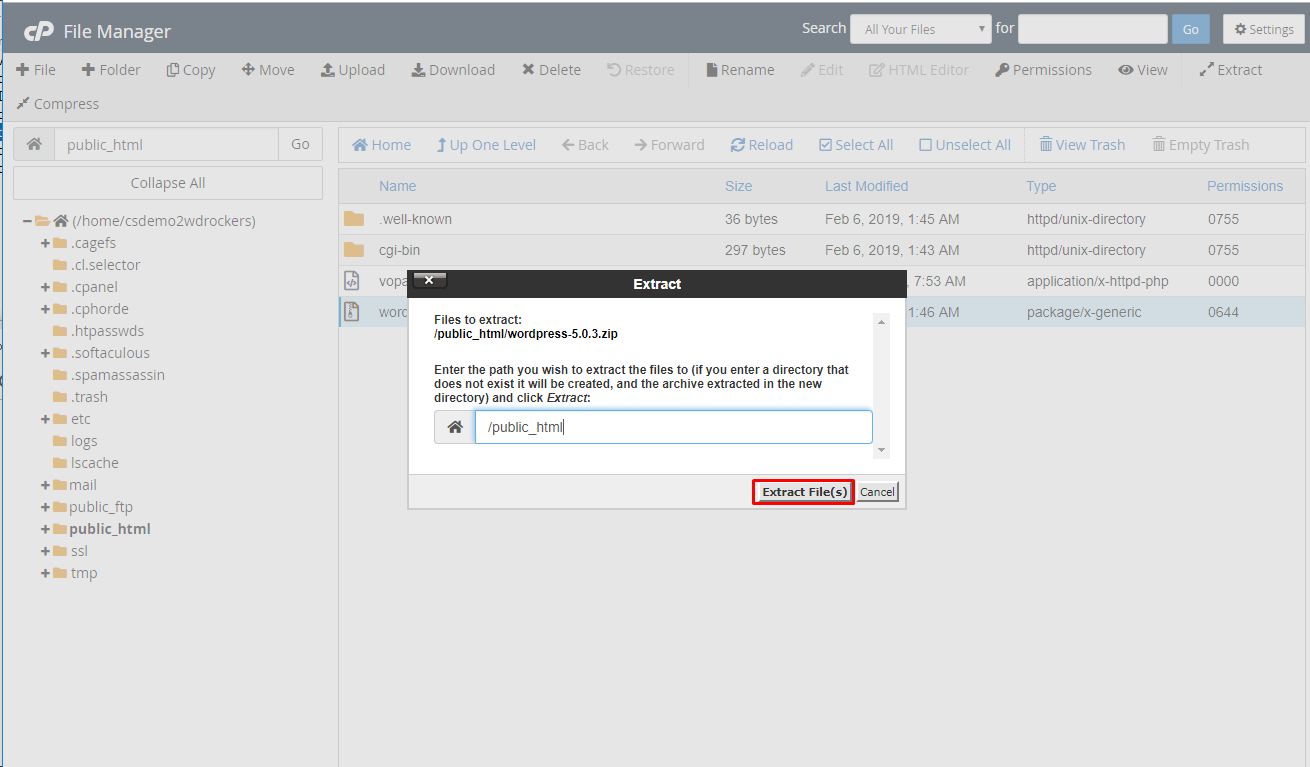
Step 7: Now you can see a pop-up to confirm the location to extract the Zip file. If you are already in public_html folder, click the extract file(s) button.
Step 8: Now the files will be extracted and a new popup appears showing the extraction results. Click on the Close button.
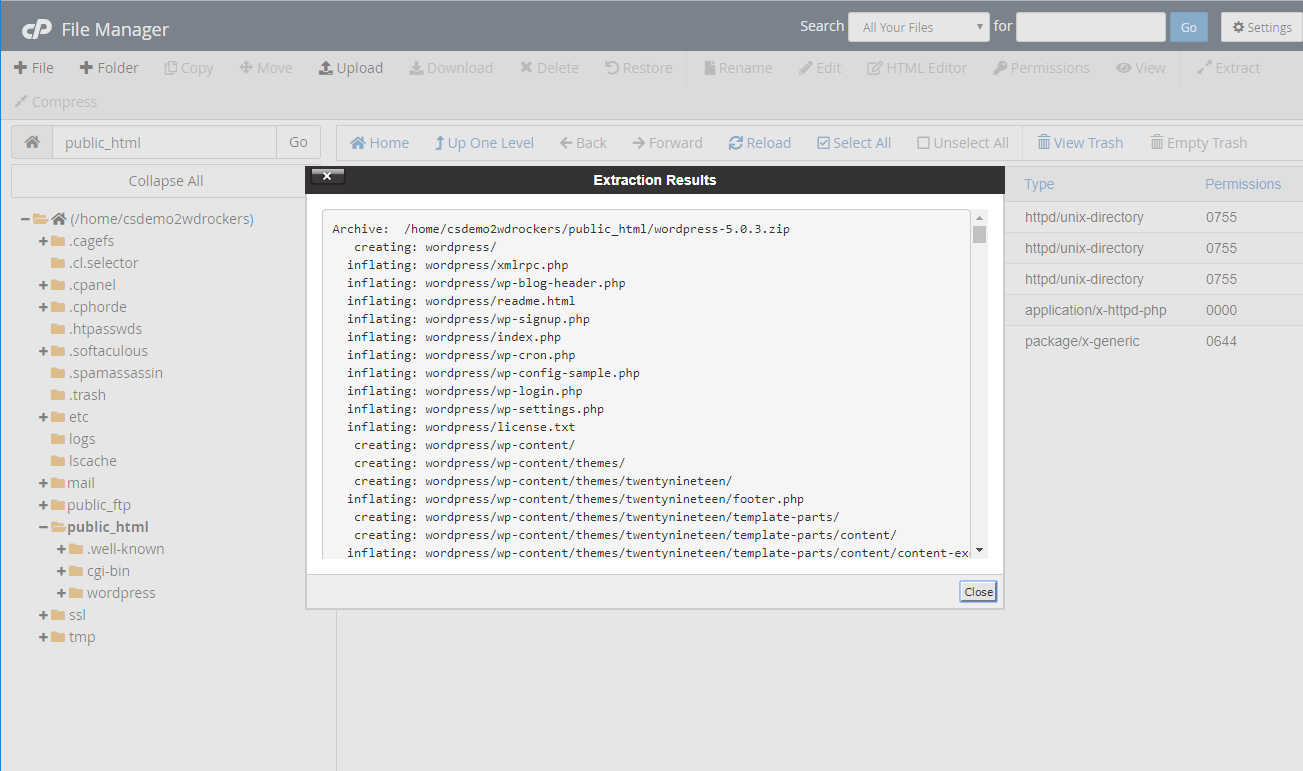
As you can see, all files are stored in the default WordPress folder so you have to move all the files to public_html.
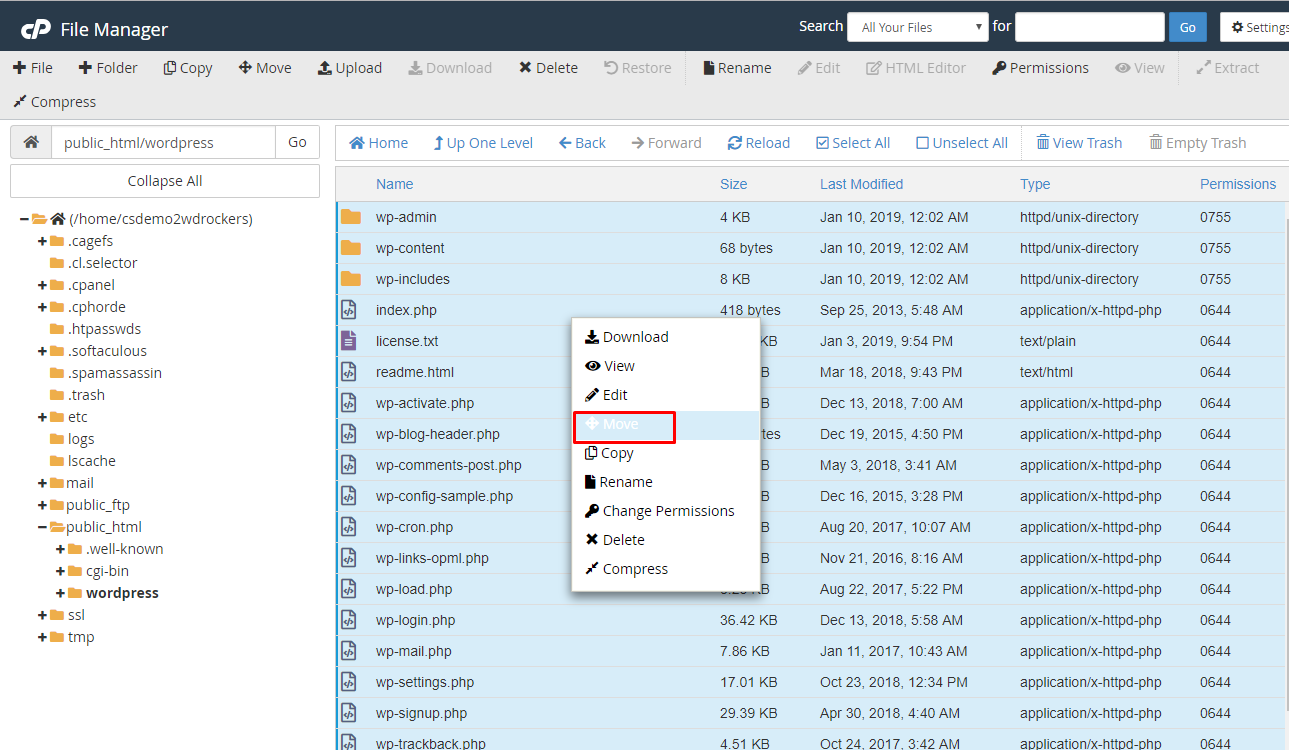
Step 9: Open the folder, Select all, right-click and choose the move option.

Now, the WordPress files are uploaded successfully in cPanel. The next step is to configure the database.
Create a Database and a user
A WordPress website runs a MySQL database, so need to create a new database and its user. Follow the below steps to create a new database and a user for it.
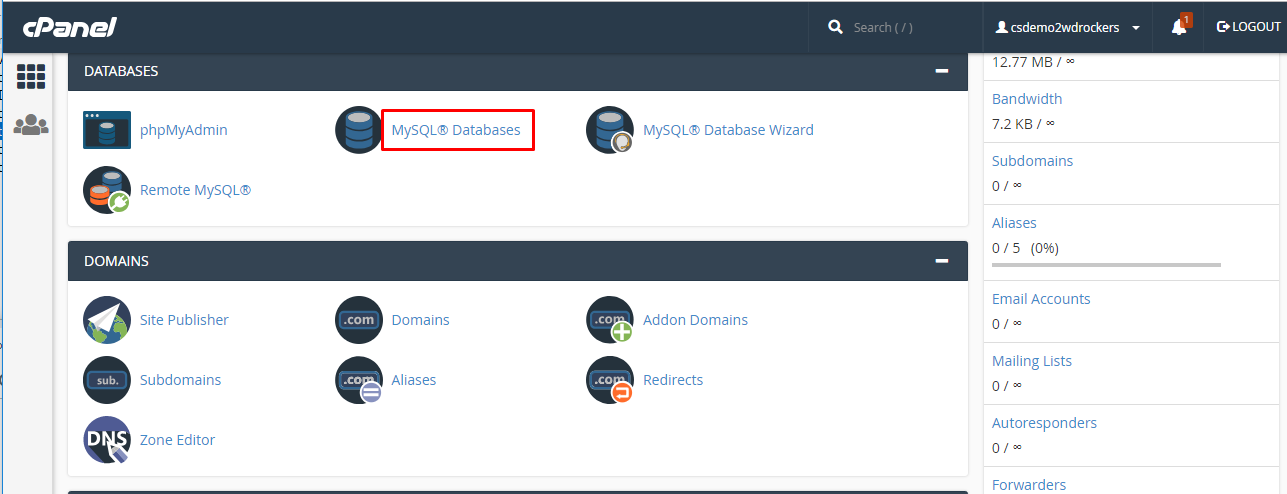
Step 1: Go back to your cPanel and navigate to the section Databases. Then click the option ‘MySQL Databases’.
Step 2: To create a new database, fill the text box and click on the Create Database button.

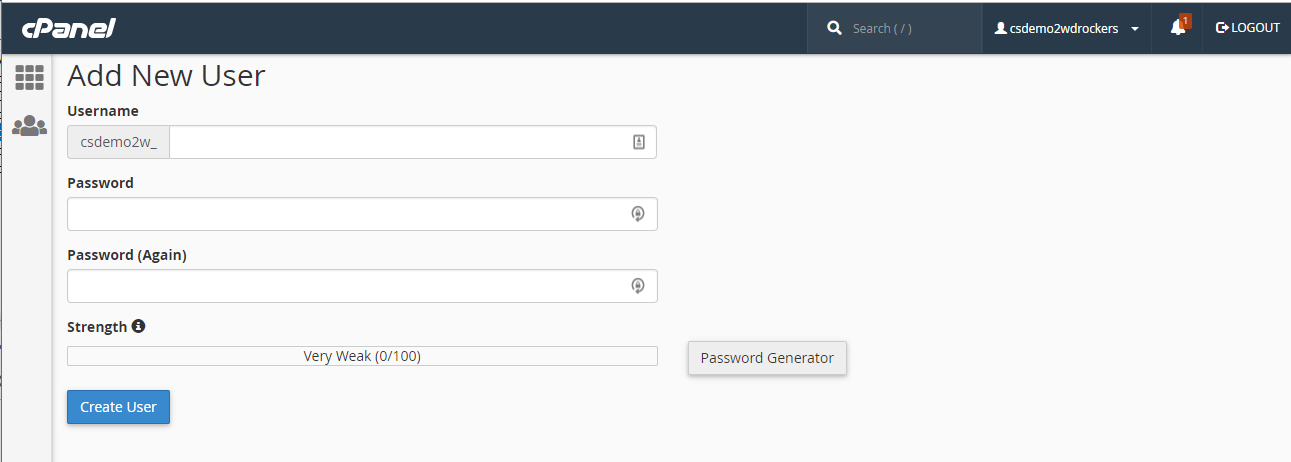
Step 3: Once you create the database assign a user to access the database, after filling the information and click the create user button.
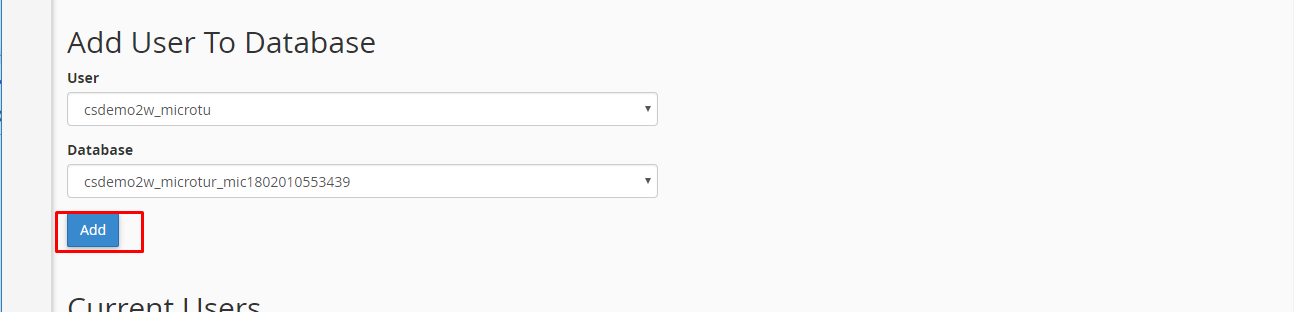
Step 4: Once the database and user are created, you need to assign the database to the user and assign privileges for the specific user.
 Once the database and user are created, we have to configure with WordPress. The below steps will help to configure the database through the wp-config.php file.
Connect the database through the wp-config.php file
Step 1: This is the important step in which most of the people forget to configure the database, so you require to edit the wp-config.php file.
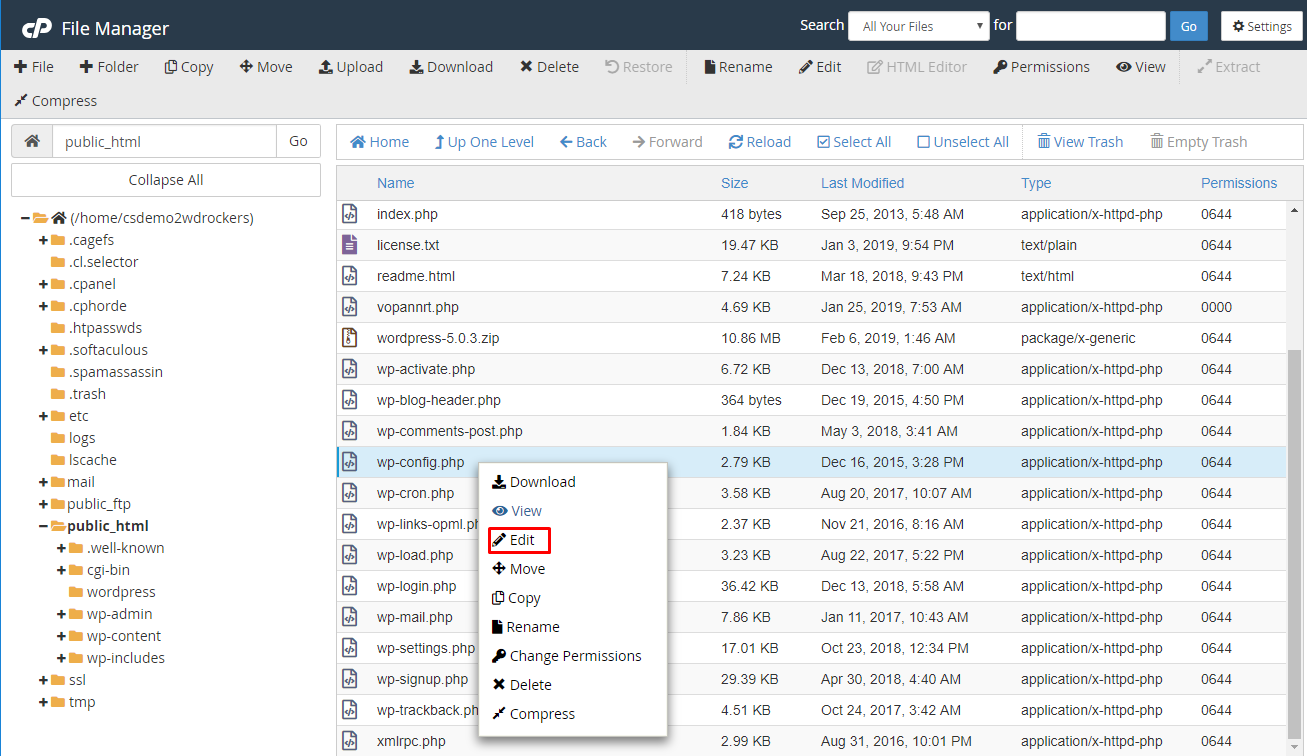
Step 2: Scroll down and you can see a few codings related to the database name and user etc.. Enter the assigned database name, database user and password that are updated earlier.
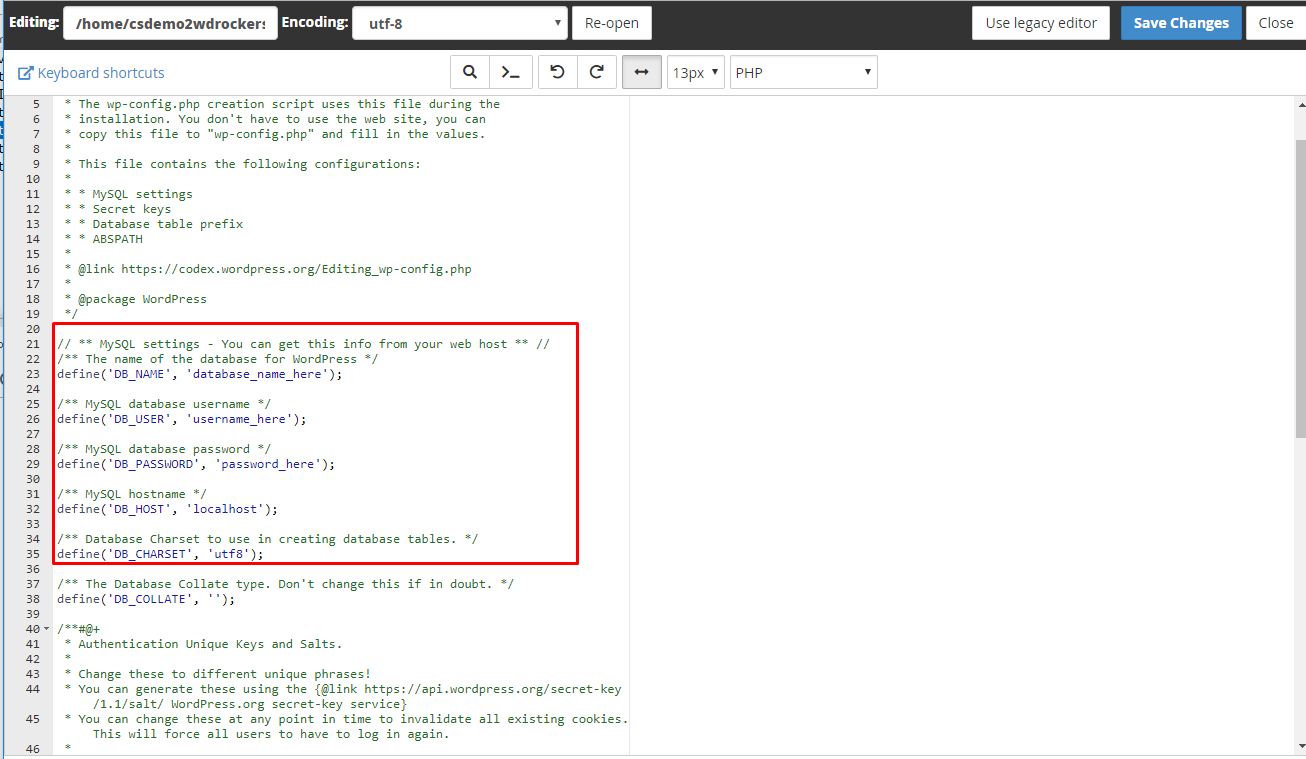
Step 3: After changing the modification and click the save button.
Now you can run your website’s URL on the browser and you can see WordPress default page. We hope that this tutorial will help you to install WordPress manually. For more information, follow us on Twitter and Facebook.